When making the switch from point and shoot cameras to DSLRs, one aspect of the DSLR that can be confusing is some of the additional options you have for shooting night photos.
Because of all of the manual settings that are available with an advanced DSLR camera, you're going to have quite a few different ways from which you can attack the night photography situation. Adjusting certain settings will give you one look, while working with a couple of other settings will give you a completely different look. Both looks may provide a successful outcome for your advanced night photography scene, which can confuse some photographers who are new to DSLR photography.
Use these night photography tips to learn more about creating the settings with your DSLR camera for successful results when shooting at night.
DSLR Cameras
They are great for night photography because they tend to perform much better in low light settings, avoiding problems with camera shake that seem to plague point and shoot models. Additionally, the larger image sensors contained in DSLR cameras versus point and shoot cameras tend to absorb more light in night photography situations, leading to better image quality.
Use a Tripod
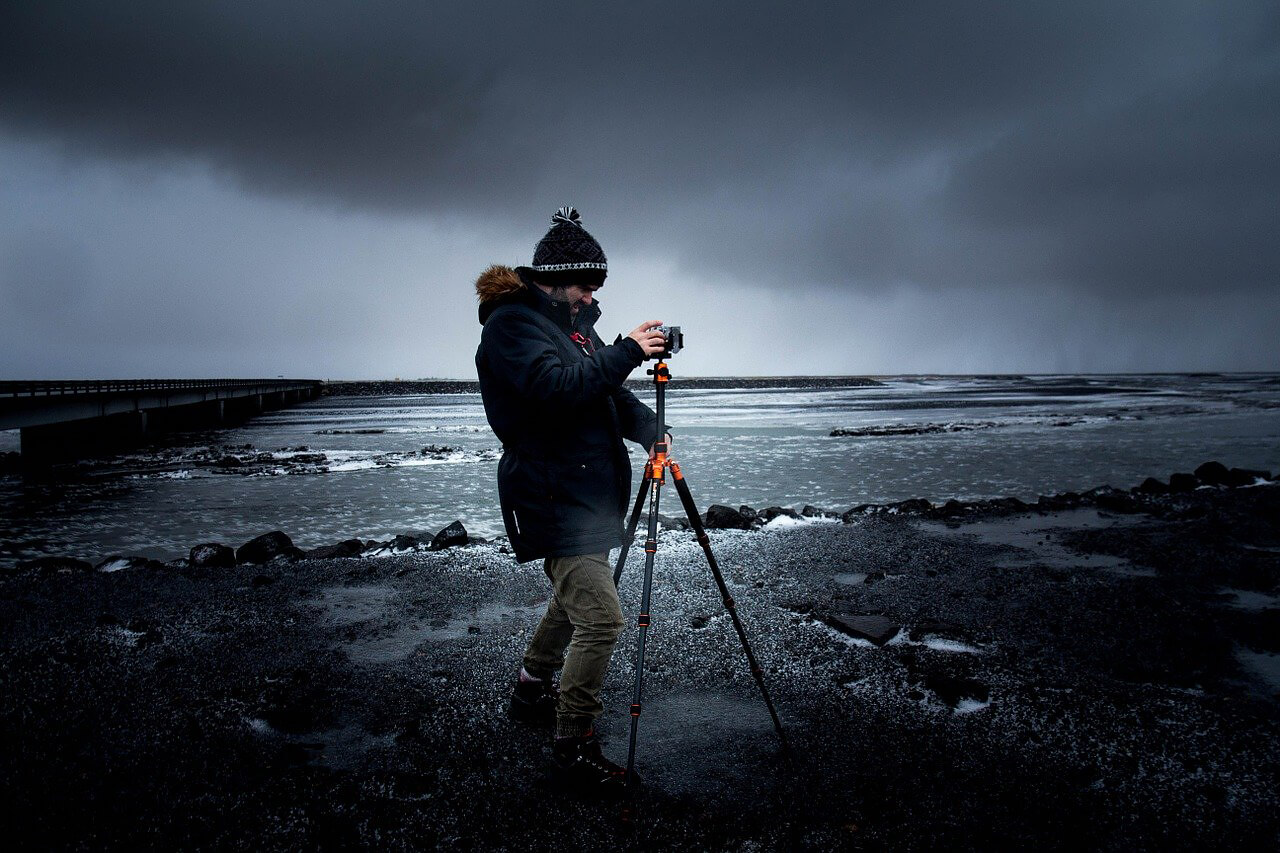
If possible use a tripod with your DSLR camera for night photography, which will further lower the chances of camera shake. Additionally, with a tripod you can manually set the ISO a couple steps lower than you might be able to do if you're hand holding the camera. Keeping the ISO as low as possible helps avoid noise in the photos.
Without a tripod consider using a wall or table where you can have the camera steadied while you shoot, rather than holding the camera in your hands.
Set ISO Setting
If you must hold the camera while you're shooting, you may have to increase the ISO setting manually. Depending on the lighting that's available for your night photo, your camera's automatic settings may place the ISO too low. Try some different ISO settings to ensure a good photo. Keep in mind, though, the higher the ISO setting is, the lower quality your final photo will be. With high ISO settings on your DSLR camera, night photos will have plenty of light striking the image sensor, but they will be grainy and noisy the higher you go. Again the larger image sensor in a DSLR camera versus a point and shoot camera will minimize the noise a high ISO setting creates, so you can use higher ISO settings successfully with a DSLR camera versus a beginner-level camera.
Set the Shutter Speed
Once the ISO is set, you'll want to try to set the shutter speed as slow as possible. With the shutter open longer, more light will reach the image sensor, giving your night photo a better chance of success. However, the slower shutter speed potentially leads to blurry photos from camera shake. Again some experimentation may be necessary.
Open the Shutter
Use the S setting on your DSLR camera to give the shutter speed the priority. One common mistake DSLR photographers make when initially trying night photography is not leaving the shutter open long enough. It's not unusual to have to leave the shutter open for 10-30 seconds, especially when shooting the lights of a city at night, as shown above for example. For such a photo, a tripod is a must, and some advanced photographers insist on using a remote control shutter (either wired or wireless), which makes it easier to hold the shutter open for a long time without running the risk of bumping the camera.
About the author:
Nicholas H. Parker is a content writer with a huge experience. He writes articles at
Buy Essay Club to share his knowledge with others. He tries to keep up with advancing technology. For example, he is highly interested in the web design sphere.


